
When I was trying to come up with an idea for my March centerpiece, the color green (obviously) kept coming to mind, but I wasn’t sure how I wanted to incorporate it. Eventually I decided to do a mix of St. Patrick’s Day and spring – two of the biggest events that happen in the month of March. I dreamed up this idea in my mind last week, and I’m happy to say that it turned out almost exactly like I had pictured it.
Happy March!
supplies:
6 pieces of card stock, cut to 3″ x 3 1/2″
6 pieces of brown packaging paper, cut to 3″ x 3 1/2″
glue stick
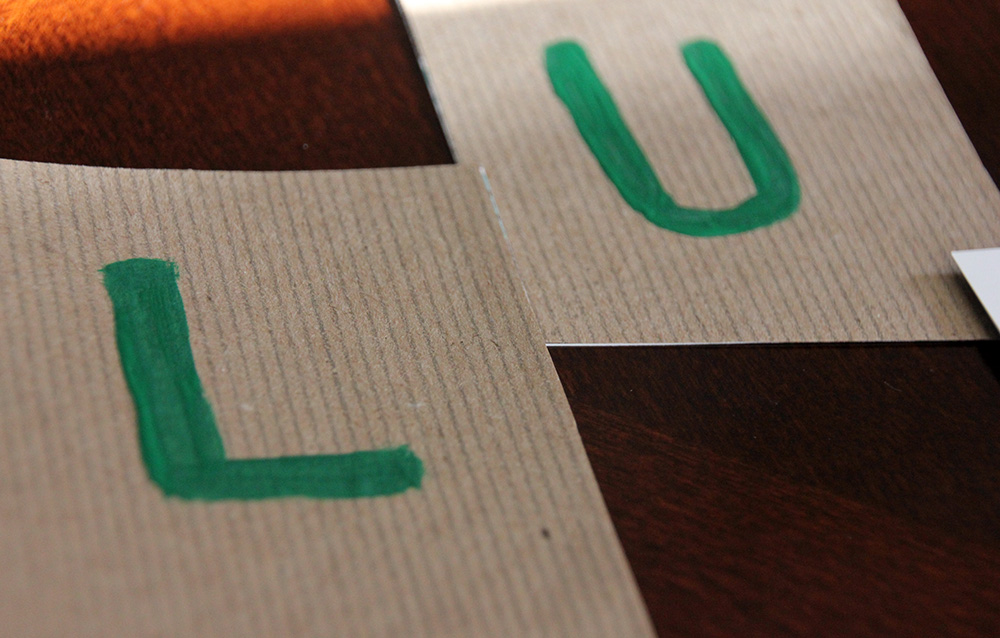
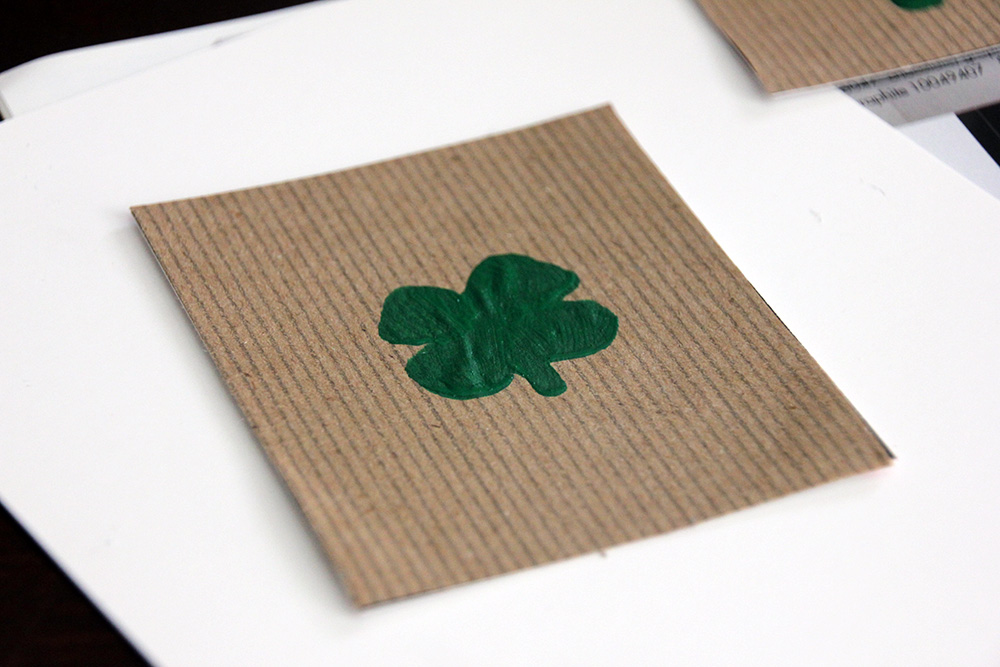
green acrylic paint
thin paintbrush
shamrock stencil
scotch tape
white string
2 small flower pots
2 pieces of round styrofoam
2 wooden dowels, proportional to the height of the flower pots
glue gun
artificial moss
instructions:
Use the glue stick to glue the brown packaging paper to the pieces of card stock.


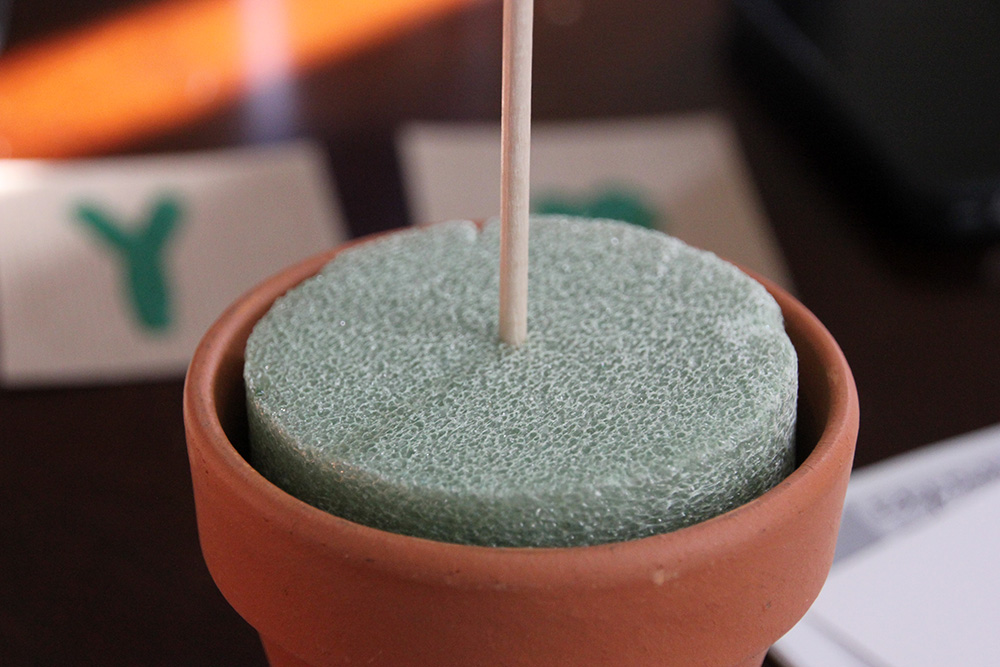
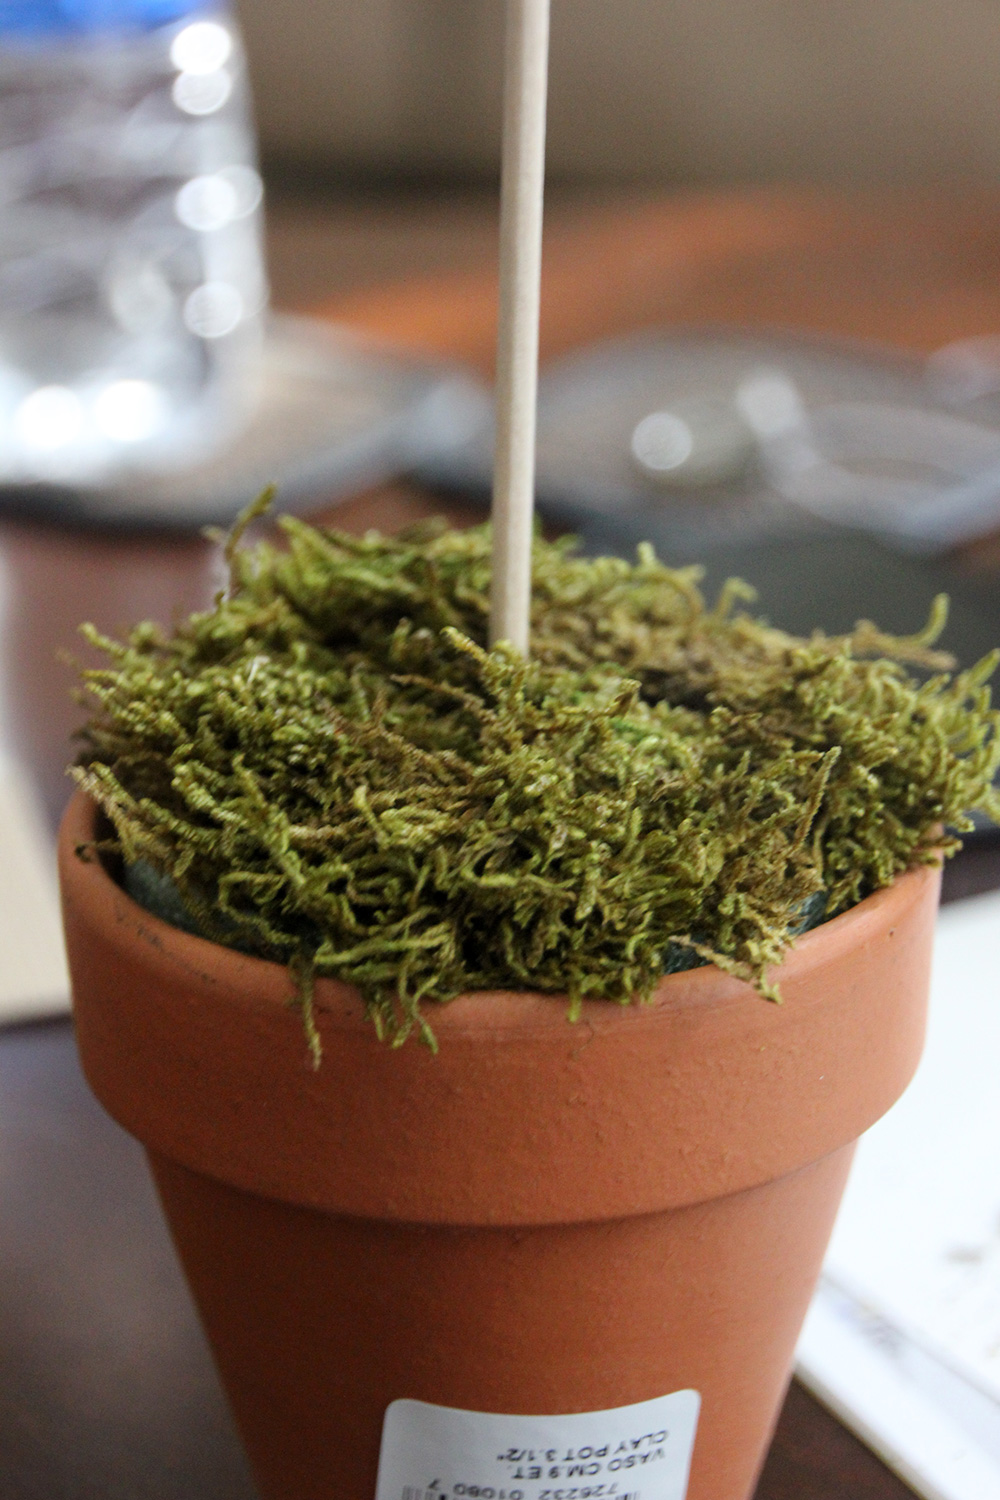
While the paint is drying, prepare your flower pots.

Place the styrofoam in the flower pot, and push the wooden dowel into the center of the styrofoam, pushing it down as far as it will go.
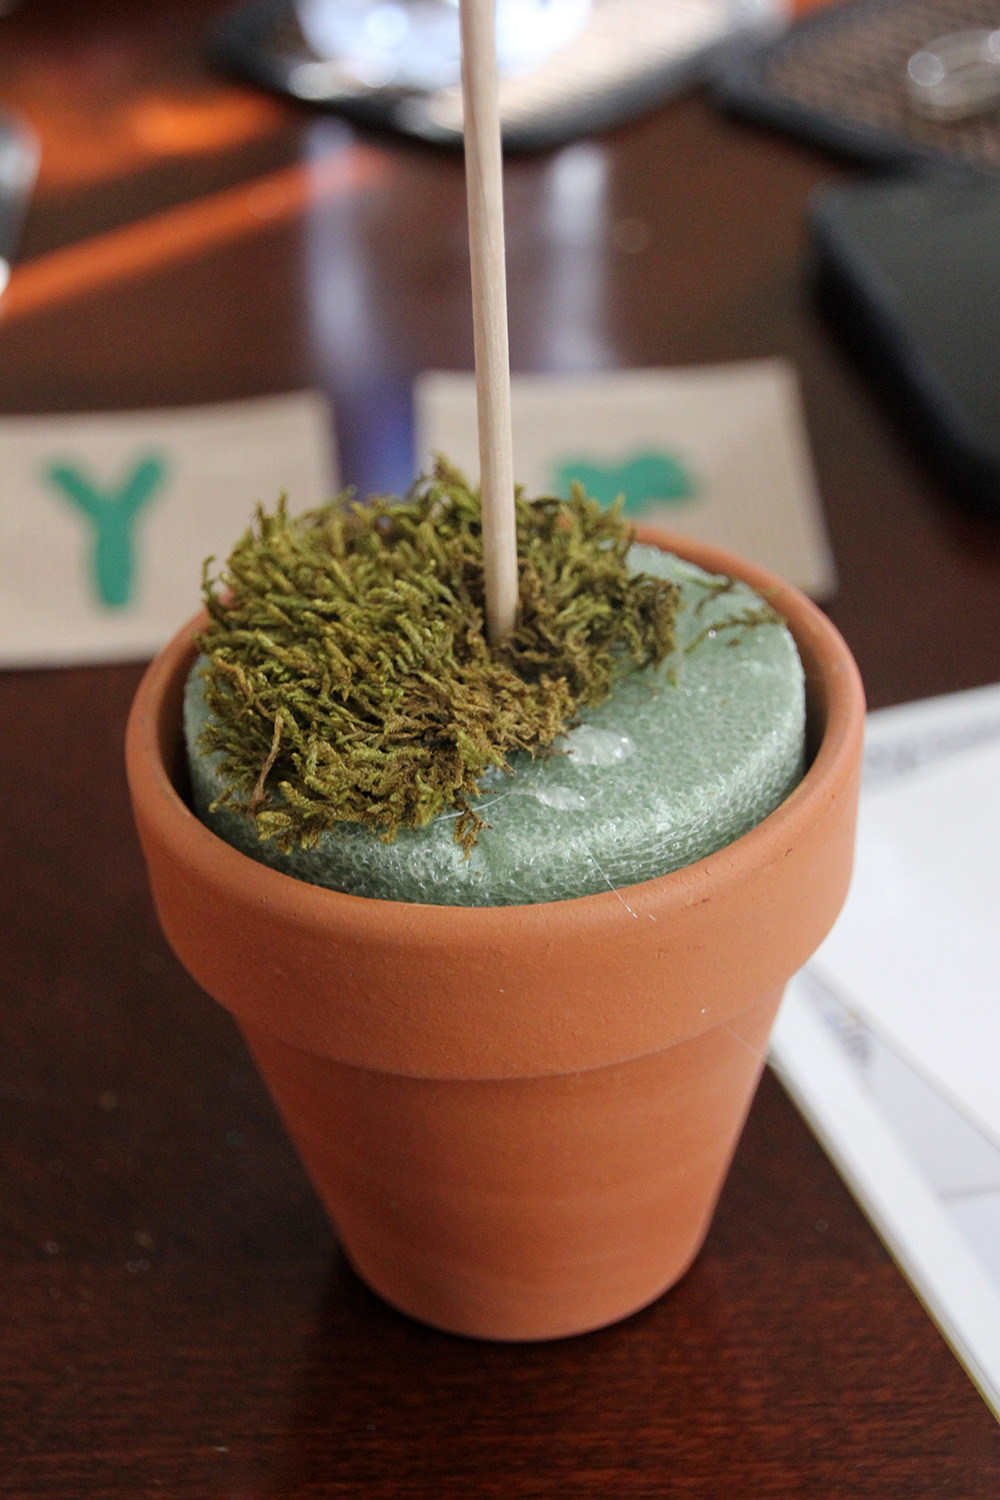
Use the hot glue gun to stick the artificial moss to the styrofoam.


Write a Comment