
confession time: I have serious hand insecurities. To start, my fingers are extremely double jointed. While this can sometimes make for a cool party trick, most of the time it’s just awkward (especially when someone new exclaims with a mixture of disgust and fascination “whoa, what’s wrong with your fingers?!?”). Secondly, I tend to be a bit of a nail biter – I know, I know, it’s a horrible habit – but it really only happens during particularly intense Steelers games.
In order to make my hands somewhat presentable, I’ve learned to give myself a pretty mean at-home manicure. Every Sunday night, I sit down and pamper myself, following these simple steps. So, the next time you want to get a manicure, skip the salon and give it a try yourself!
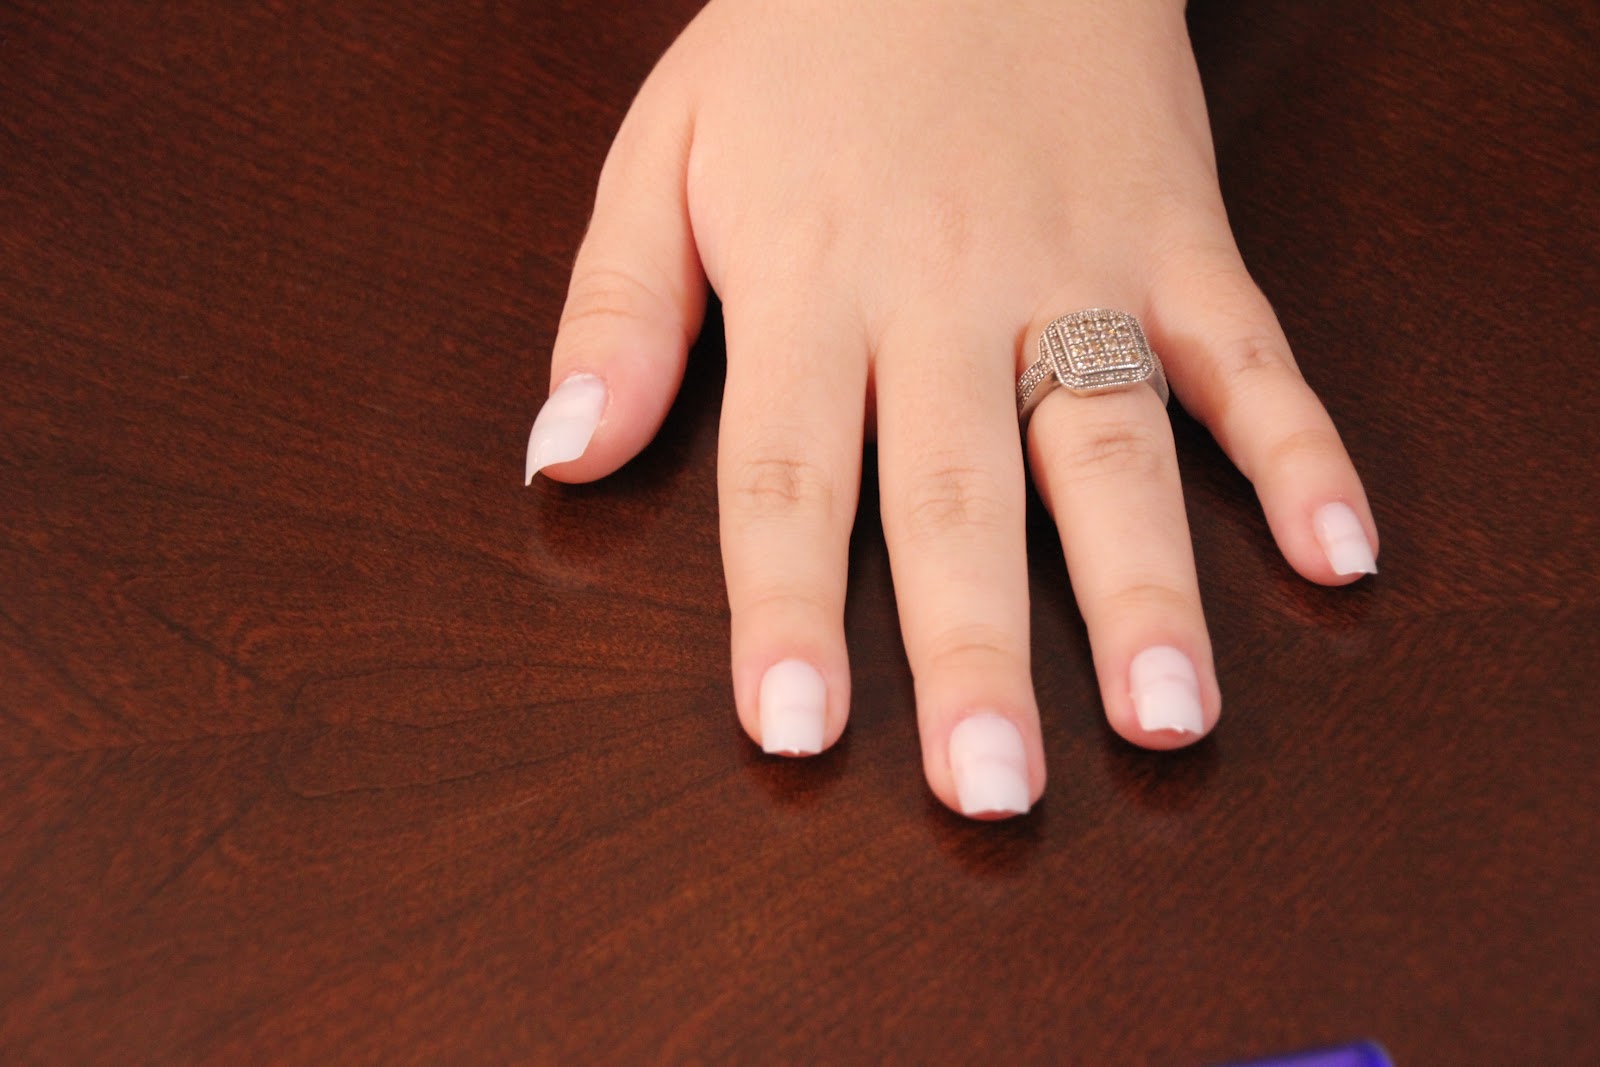
*note: I buy a set of fake nails and nail glue, since my natural nails are always uneven. Fellow nail biters, give them a try! They’re cheap, they last about a full week, and the nail polish does not chip.
here’s what i use:
nail polish remover wipes (I like Nutra Nail No-Mess Express Remover )
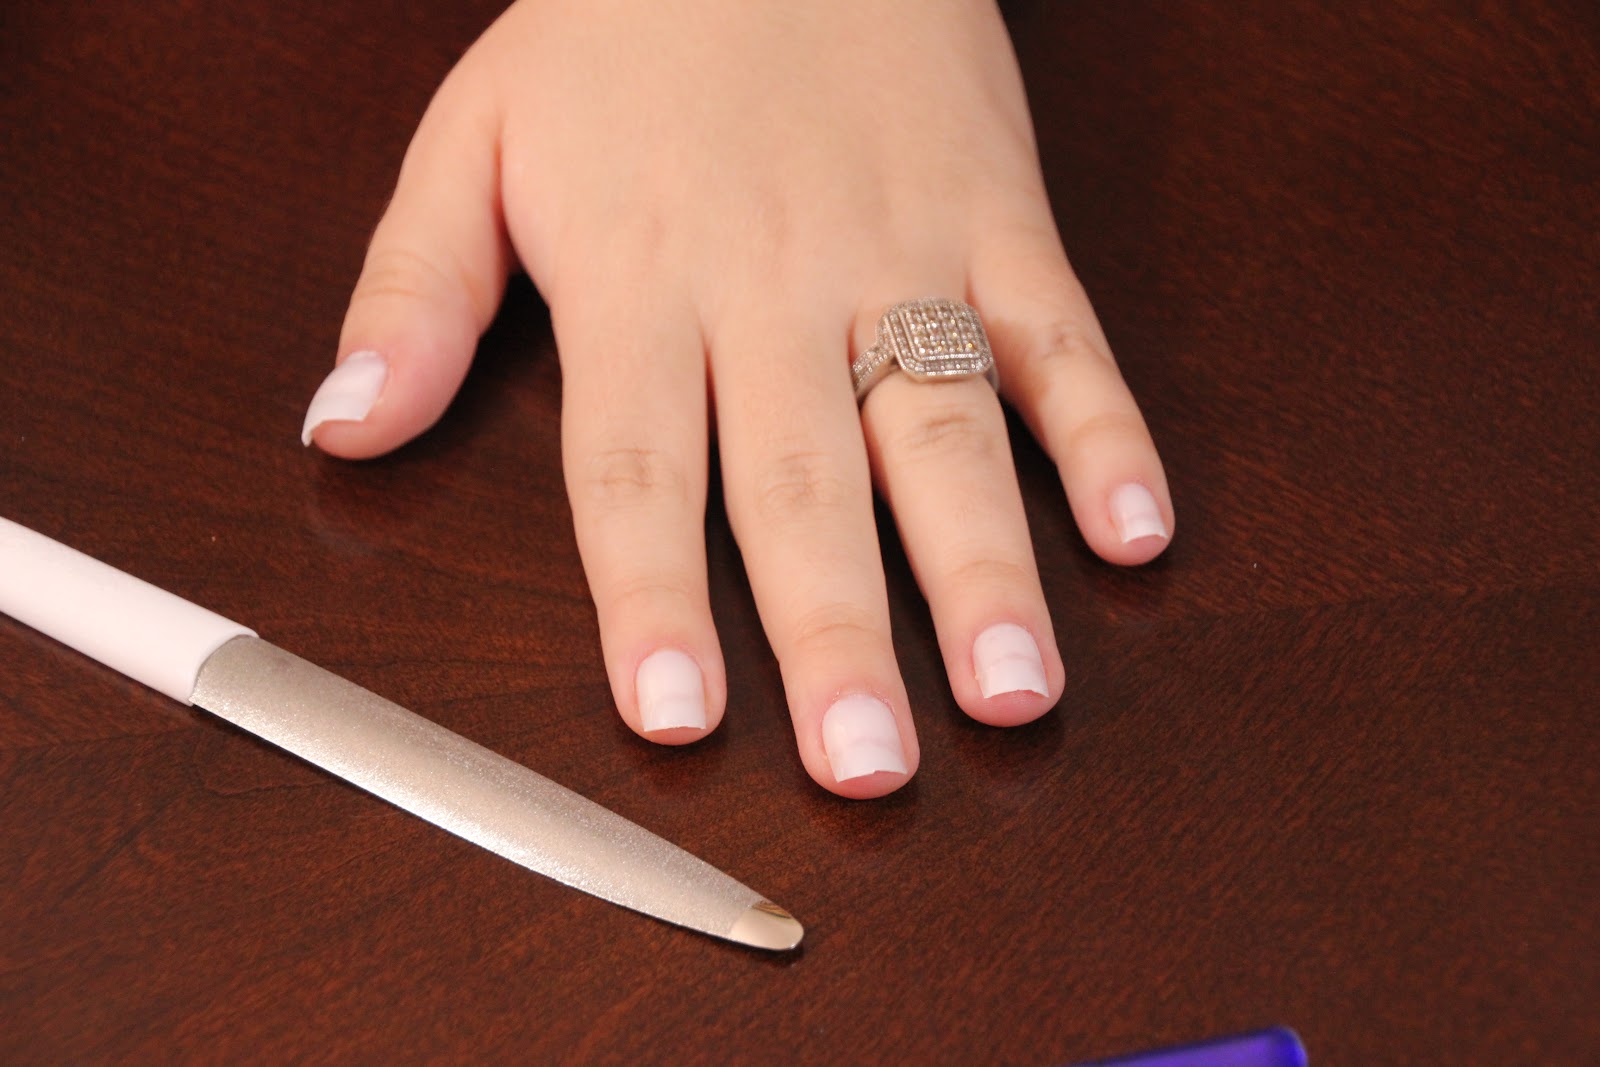
nail file
nail clippers
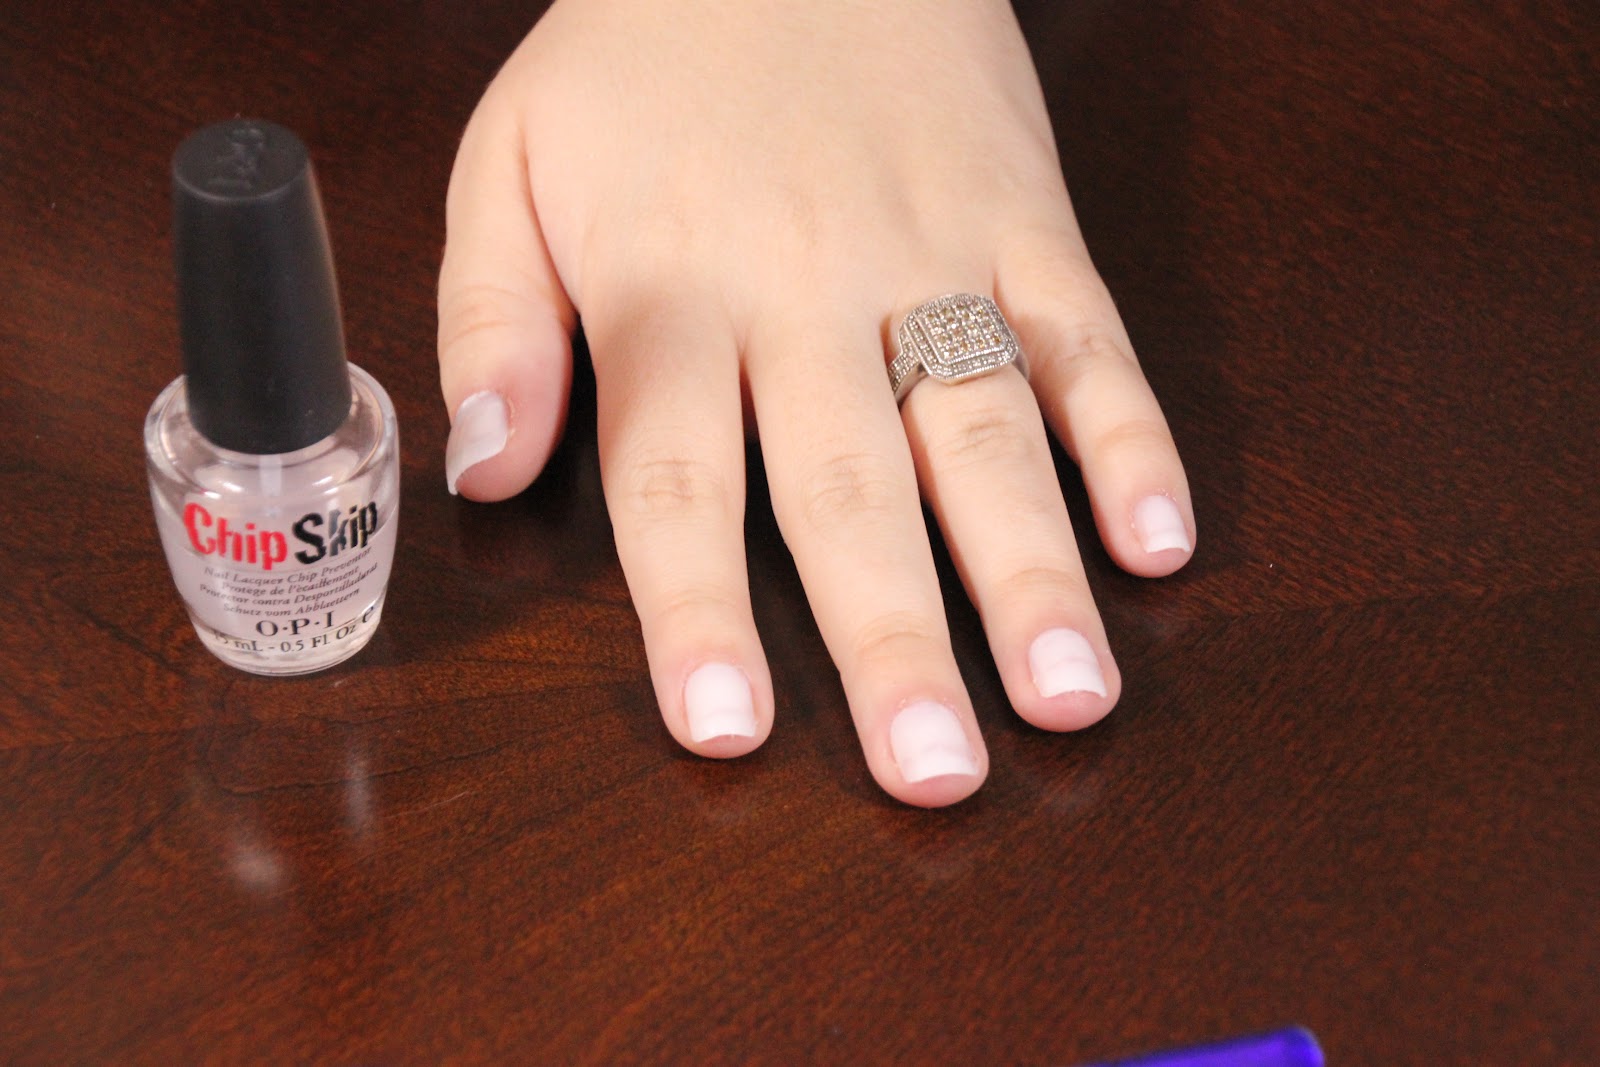
OPI Chip Skip
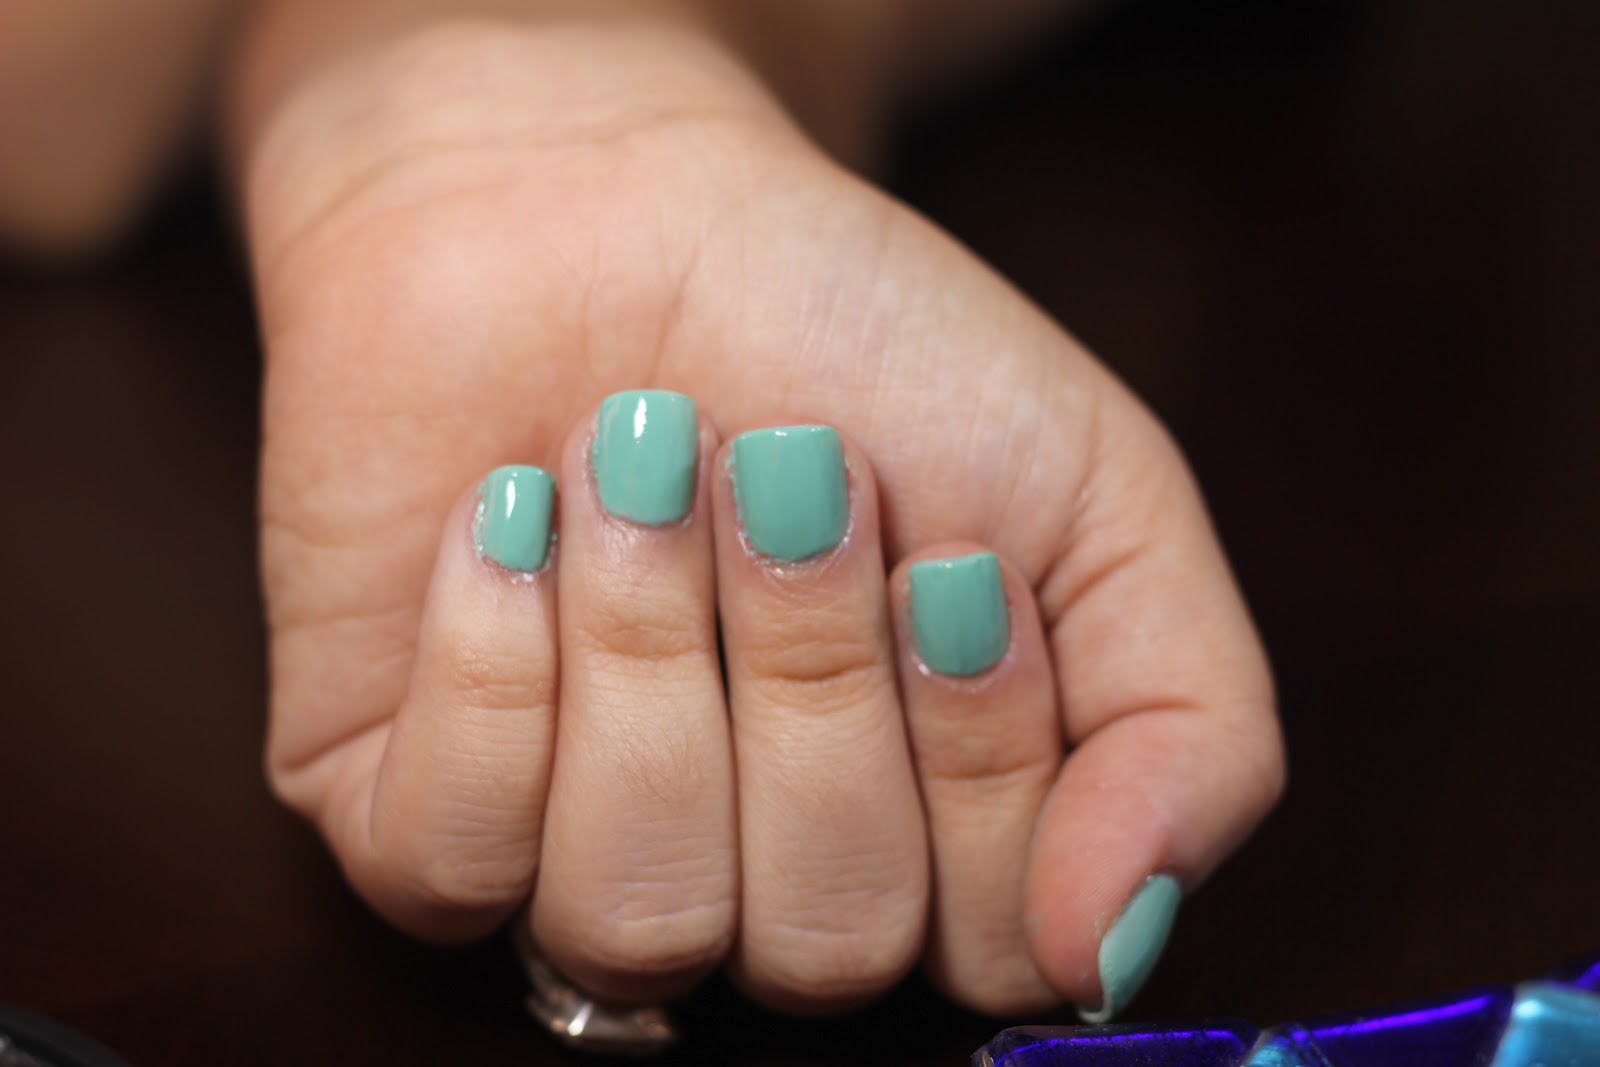
nail polish of your choosing (I used Essie’s Turquoise and Caicos)
clear top coat
*nail glue (I like 5 Second Brush On Nail Glue)
*set of nails

Start off by removing any old nail polish.

*all of you fancy non-nail biters can skip the next step*
Determine which size nail best fits each finger. Glue on the first nail, holding it firmly for a few seconds to ensure that it will not fall off. Repeat with the rest of your fingers.
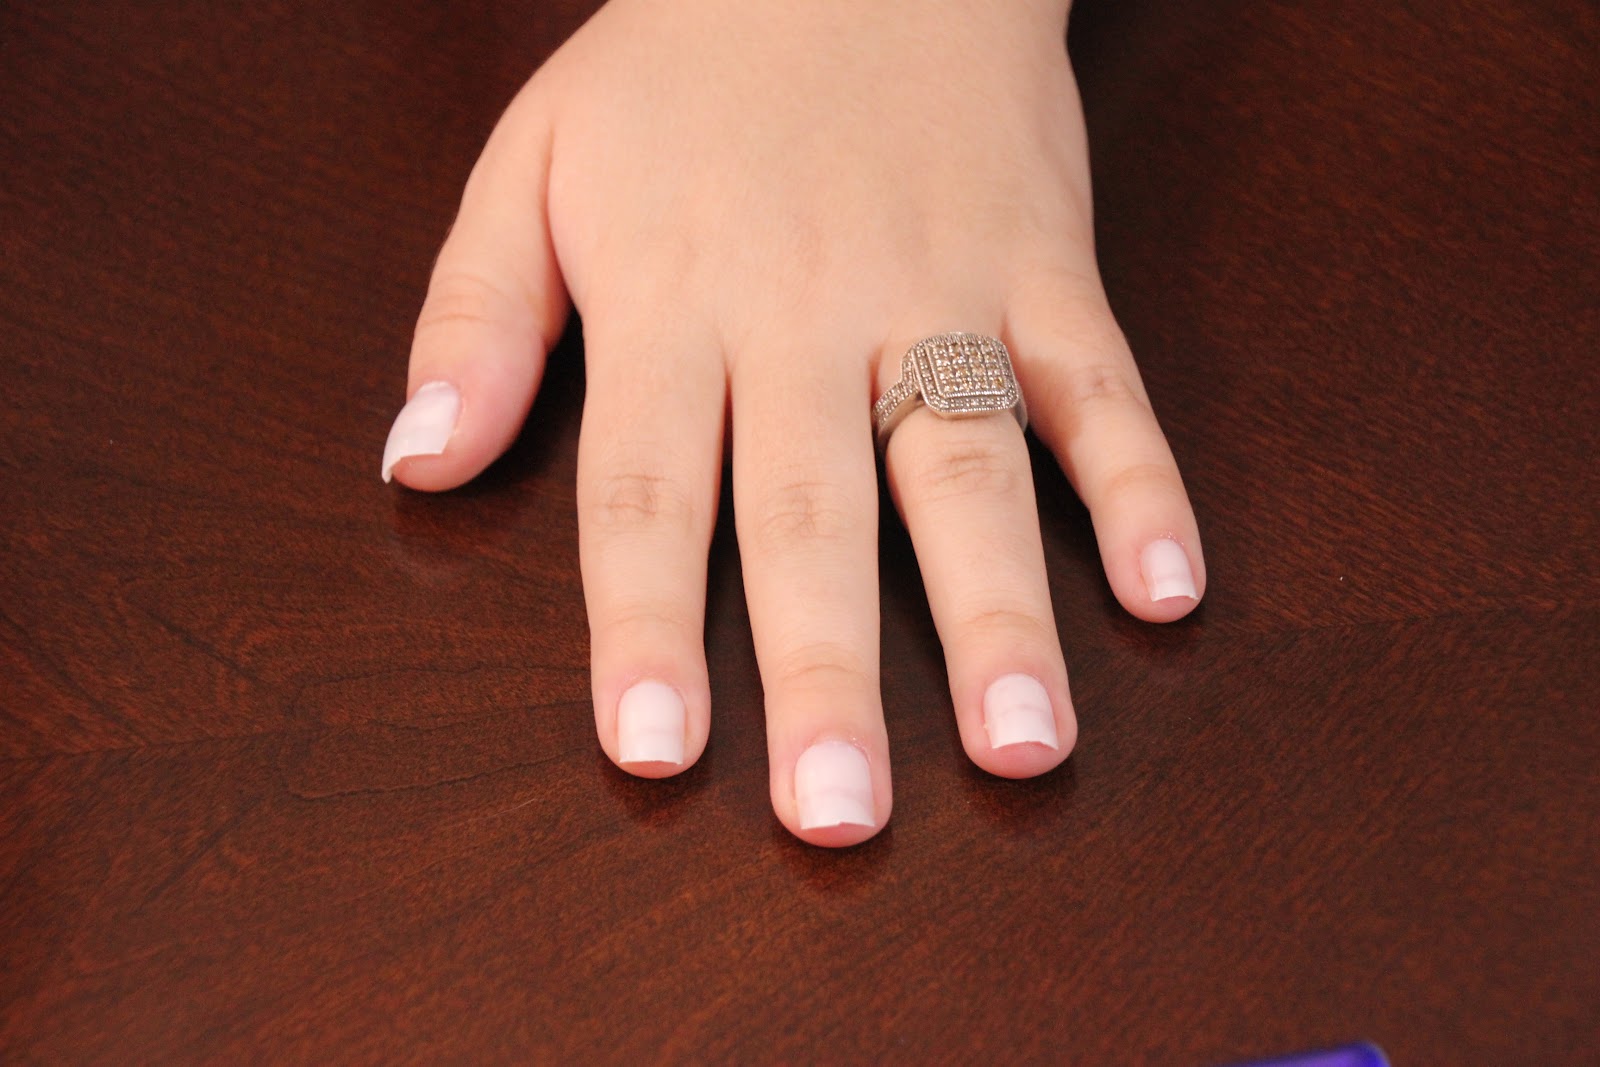
Use the nail clippers to cut your nails (natural or fake) fairly short. There’s just nothing cute about painted talons, no matter what color you use.
File the nails down so that they’re straight, and all close to the same length.
Brush the Chip Skip over each nail (I’m sure you could skip this step, but I’ve been using this stuff for a few years, and my polish NEVER chips, so I’d recommend it).
Brush your polish over each nail, as evenly as possible. If you get polish on your finger, you can use the edge of the nail polish remover wipe to get rid of it. (Or a q-tip dipped in remover)

Not all colors will need a second coat, but if you chose a light color, you’ll probably want to put another coat on for good measure.
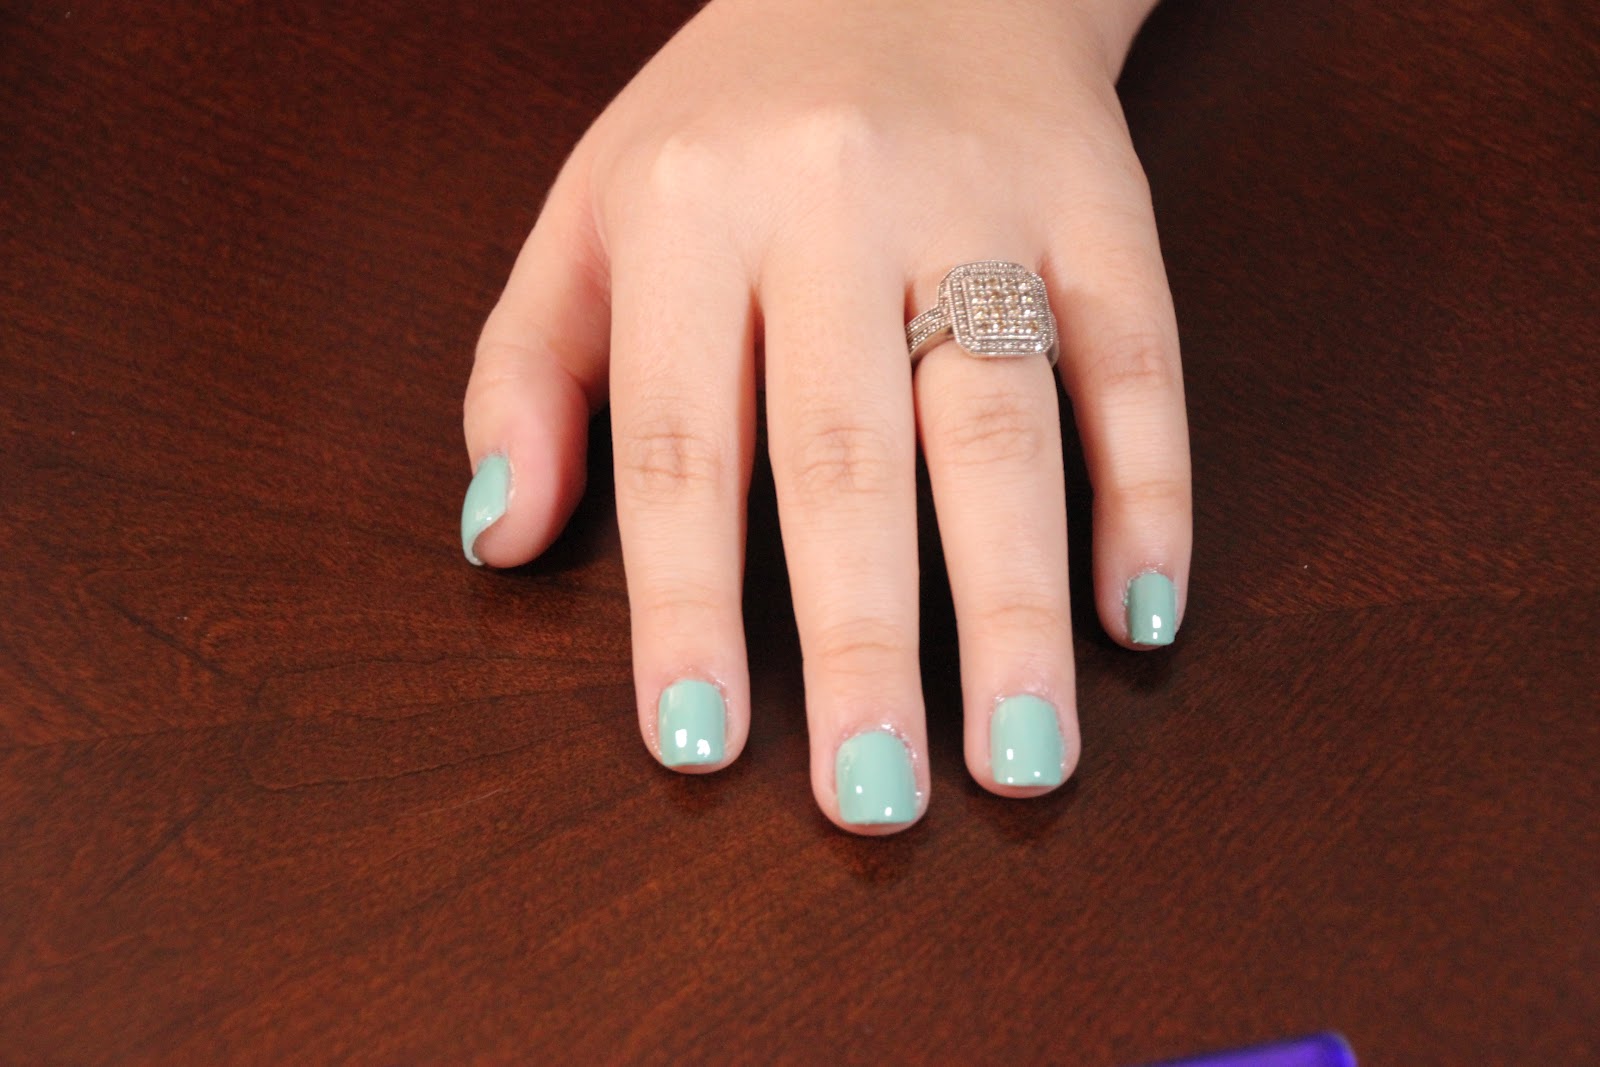
Finish with a clear top coat, and let dry.


Write a Comment