I’ll be the first to admit that I’m not great at just coming up with ideas for my own DIY projects. As much as I long to be creative, it’s something that doesn’t come naturally to me, so I really have to continually work at it. That being said, I love when I see a product for purchase that I feel like I can replicate at home.
I first saw this dog toy storage bag a few months ago, and I instantly thought it was awesome. You see, this is how our living room floor typically looks:

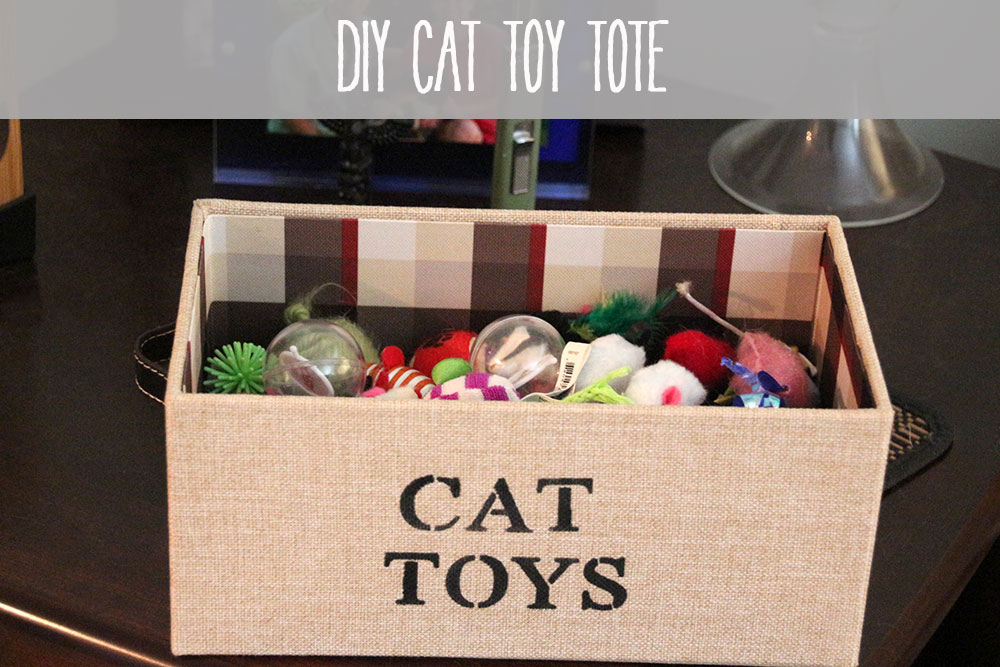
There were just a few issues – 1) I wanted it to say “cat toys” instead, and 2) I couldn’t justify spending $38 on something just to hold toy mice. Our cats are pretty spoiled, but that’s pushing it a bit.
I felt like I could easily make my own version at home, so that’s exactly what I did! The total cost for me to make this was $10, (the price of the storage basket), as I already had the paint, paintbrush, and stencil.
Also, as a side note, this is the project I was working on when I fell off the chair and hit my head. Worth it? No. But I am really happy with how this turned out.
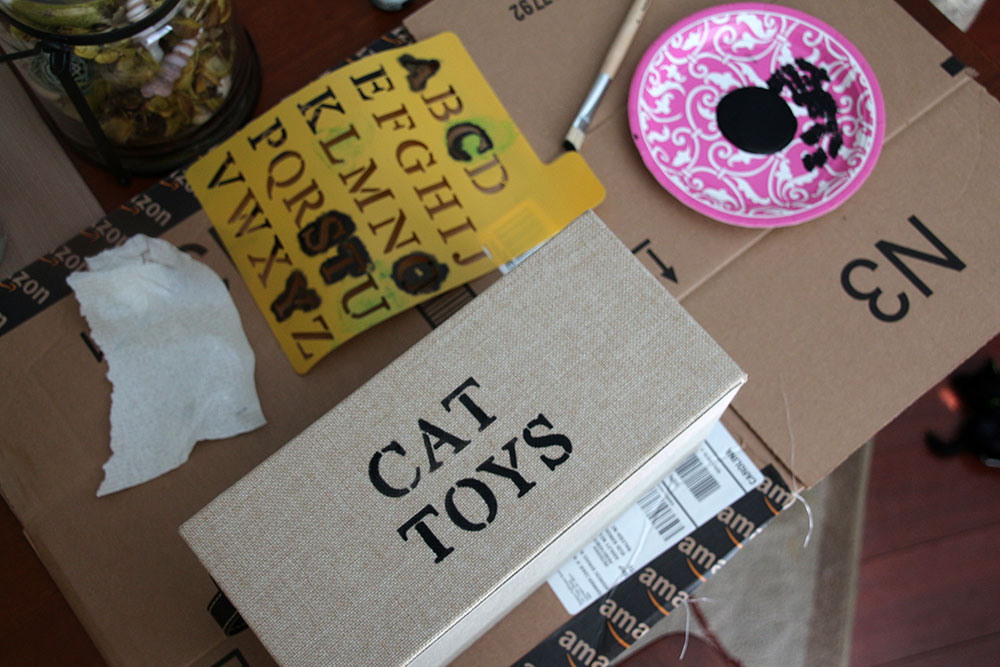
supplies:
1 fabric storage basket (I got this one from Target, $10 for a single one)
stencil
black acrylic paint
paintbrush
instructions:
Dip the paintbrush lightly in the paint, and tap off the excess paint. Hold the stencil firmly down and dab the paintbrush in quick movements to complete each letter. Try to pay attention to spacing as you move from letter to letter.


Continue stenciling until the phrase is complete. The paint dries quickly, so you won’t need to worry too much smearing the letters you’ve already done.
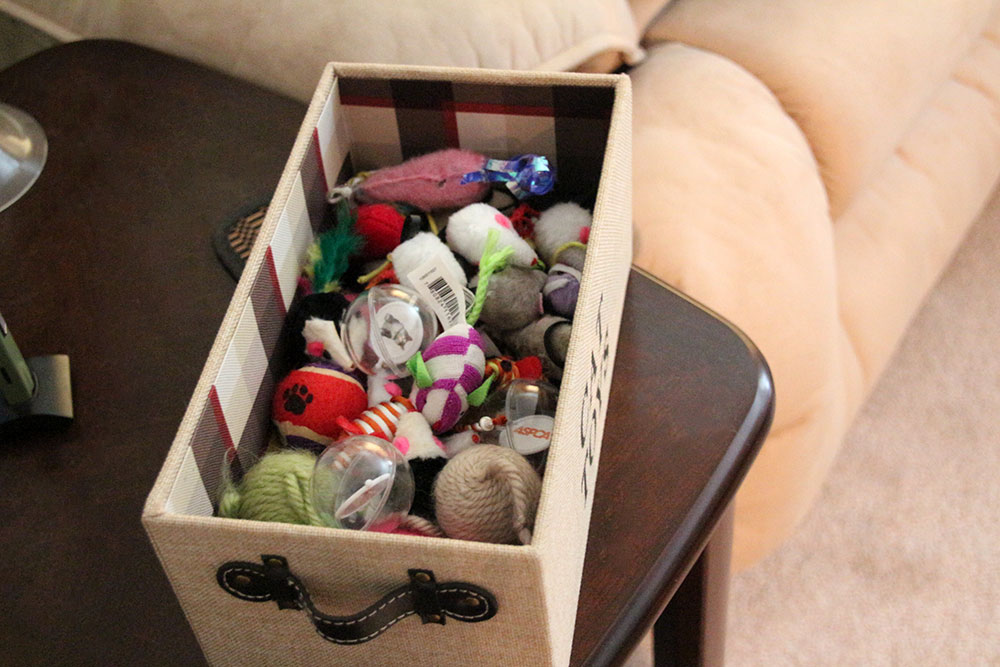
Much classier than the mouse battlefield, right?


Write a Comment